
“Ridwan of Aleppo was worried. To the south in Damascus, his brother Duqaq was preparing for war. On succeeding his father as ruler of Aleppo, Ridwan had quite sensibly began murdering his brothers. Duqaq, however, managed to escape to Damascus and was now ruler there. Duqaq seemed to be bearing a grudge over his attempted murder, and was amassing an army.
To Ridwan’s north, Frankish mercenaries of the Roman Basileos appeared to have gone rogue and seized Edessa. Caught between these two, Ridwan took the only reasonable option. He offered the Franj a bribe for help against Duqaq. Baldwin of Boulogne, would-be Count of Edessa, was luckily a very greedy man as well as a very ambitious one. And so, on a plain to the south of Aleppo, Ridwan and Baldwin met the army of Duqaq and his subordinate Tughtekin.”
I’d had a few goes at the ‘Shattered Lances’ rules with Turkish armies, but having now painted some Franks, I thought I’d give them a run out to see how they fared in the rules. I only had enough done so far to make a division or so, hence the rather contrived scenario above.
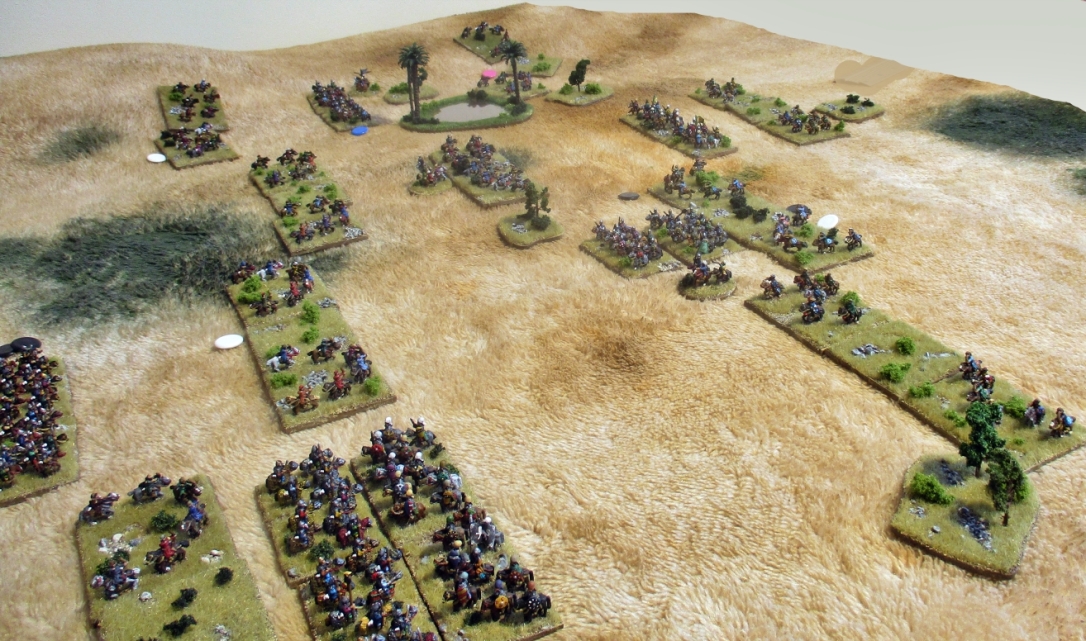
The Damascene army. Duqaq in the centre, Tughtekin on the right:
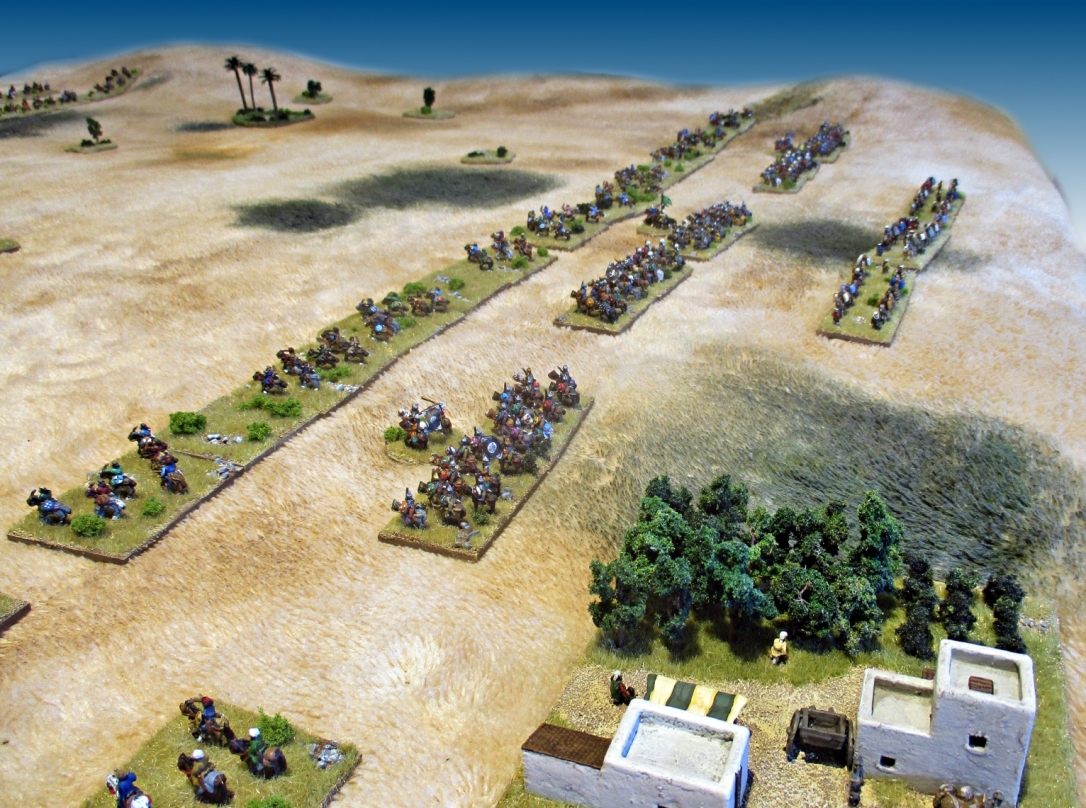
The Aleppans. Ridwan in the centre, Baldwin on the right:
The Aleppans put forward a screen of horse archers. Baldwin didn’t. Because he didn’t have any horse archers…. Ridwan’s plan was to hold and wait to see what his Franj allies would do and follow them:
The Damascenes also put out a screen. The plan was to try and tie up the Franj with light horse archers, and defeat the Aleppans with the rest of the army, notably by using their advantage in ‘Arab’ heavy cavalry.

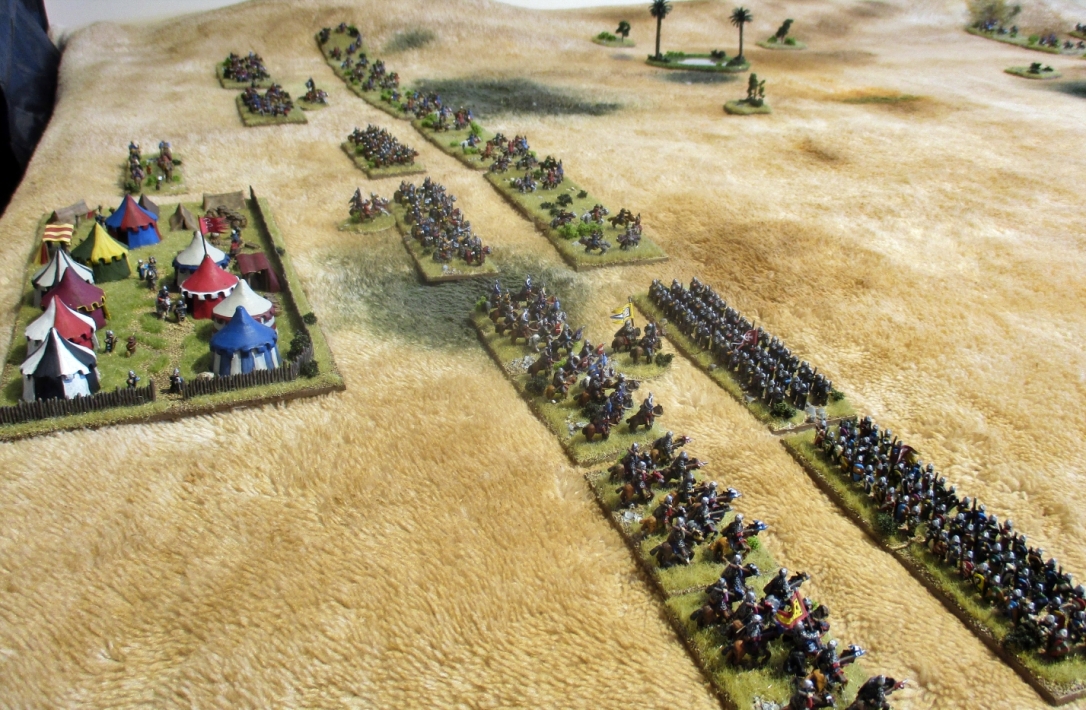
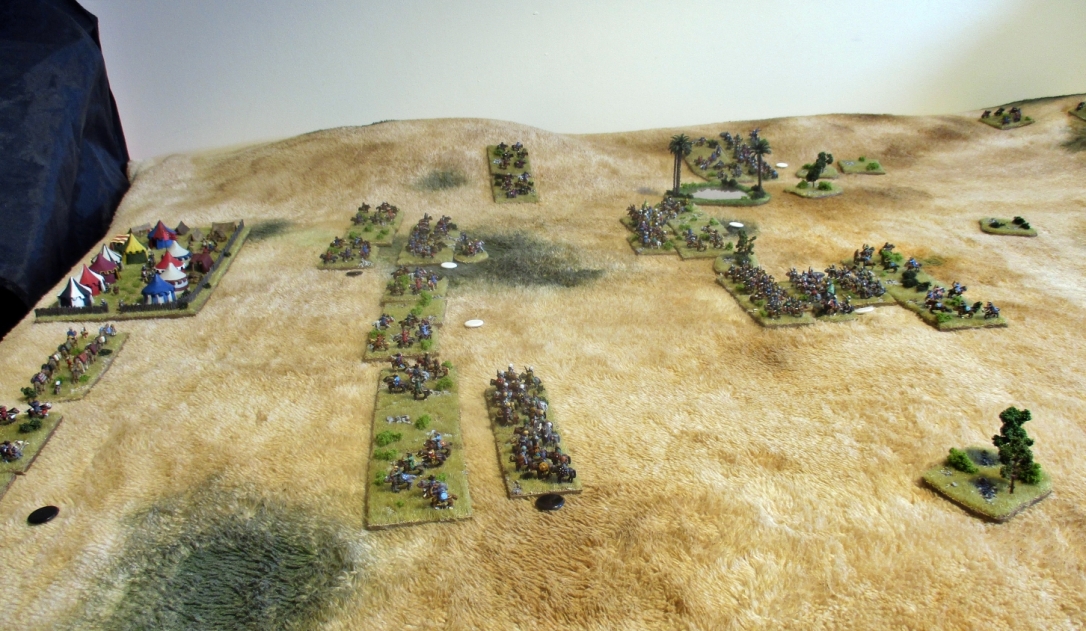
“The Franj are the most cautious of men,” wrote an Arab chronicler. Well, he’d obviously never met Baldwin of Edessa. Baldwin almost immediately led his knights out from behind their spearmen and charged at the Turks. Ridwan, somewhat reluctantly, advanced as well:

Fighting was much less intensive among the Seljuk brothers. The Damascenes have forced back the Aleppan skirmishers in the centre and are now exchanging arrows with Ridwan’s ghilman:

Baldwin’s knights are halted by archery (red counter), the other unit is badly disordered (black) as it charges.

Baldwin’s spearmen move up to support, the Damascene ghilman move through their skirmishers to apply some massed archery.

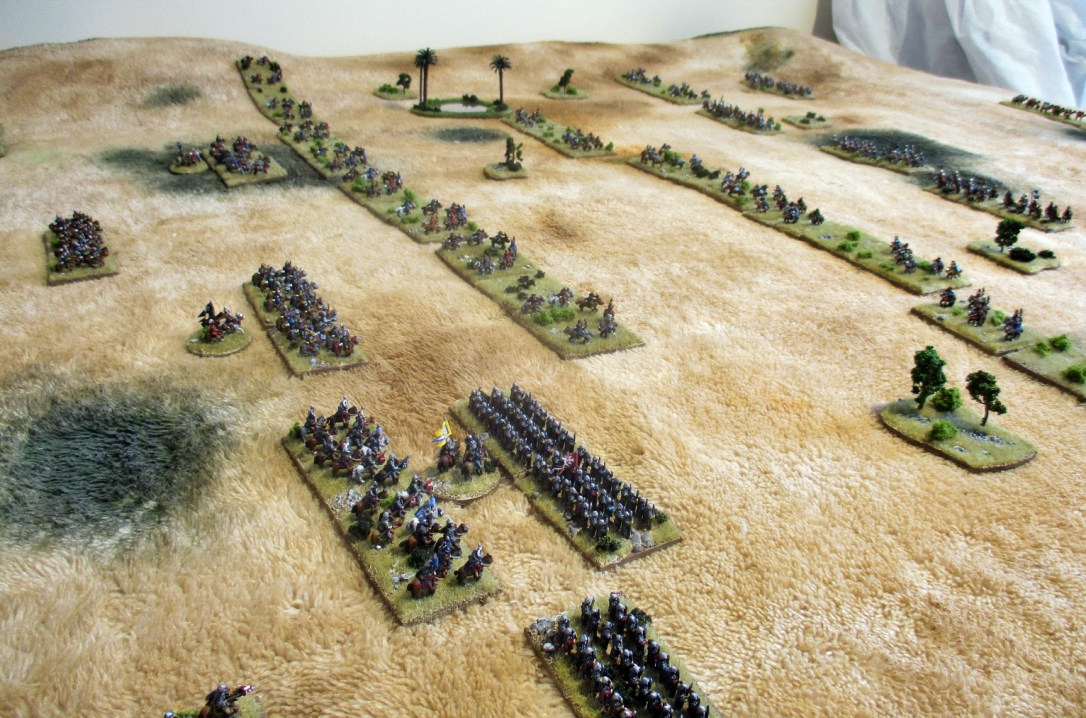
On the other wing, Duqaq becomes a bit more aggressive. He leads his own ghilman (Duqaq with the round base on left) forward against the disordered enemy.
As the skirmishers return to the front line, Baldwin charges them and routs them on contact. His other unit conversely has retired to regroup. Baldwin pursues into the ghilman, but is badly disordered and makes no further headway.

Ridwan is struggling to keep up, and the fighting is rather chaotic. Duqaq’s left wing is in danger from the Franj charges. It’s worth noting that rear support is VERY important in the rules, so even though the armies have two lines, turning a rear unit to guard the flank would imperil the unit in front. On the Damascene right, Tughtekin is having the worse of it.

Duqaq’s Arab cavalry charge Ridwan’s ghilman (bottom of picture). Some of Tughtekin’s cavalry have routed, the Damascenes are in trouble. When units are routed, they cost a variable number of morale points. There are two thresholds for accumulated points, the first being ‘dispirited’ which makes everything more difficult for the army, and the second is army break, which loses the game. The Damascenes are probably one unit away from ‘Dispirited.’
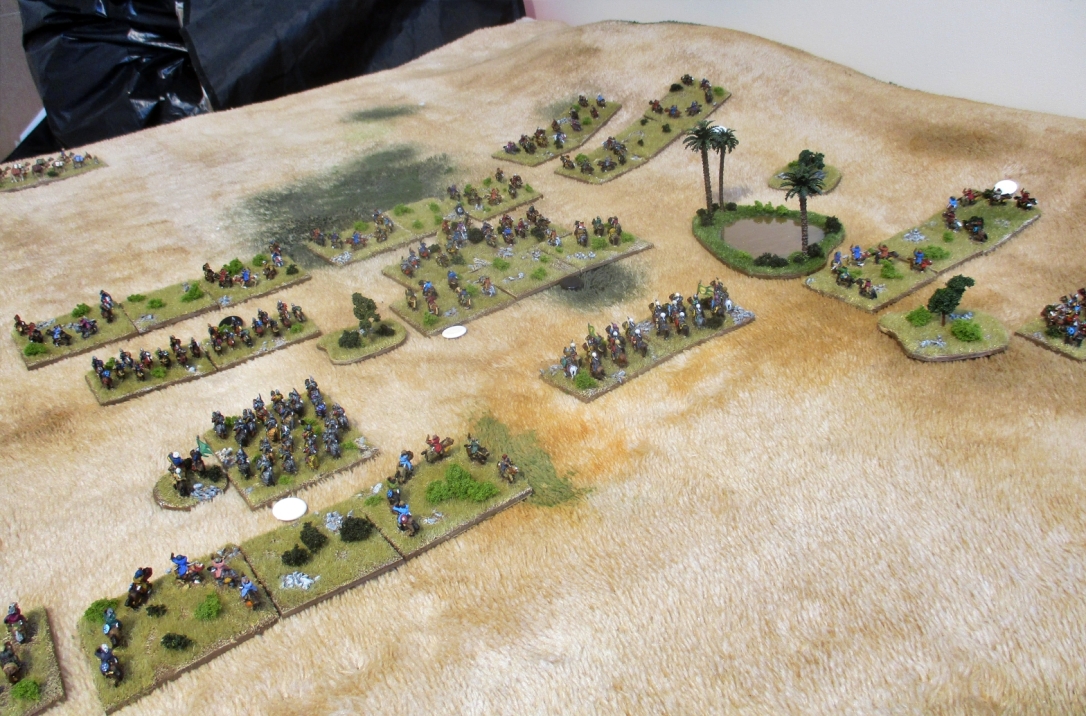
Baldwin’s knights try and rally for a decisive charge. His other knights prepare to charge the Turkoman light horse archers.

Disaster for the Franks as their right flank knights are goaded into a disordered charge. The Turkomans rout them. Baldwin’s own unit attempt to rally in the face of Damascene archery.

Things go from bad to worse for the Aleppans. Ridwan is wounded in the fighting and flees the field along with his ghilman. Victorious Arab cavalry pursue into Turkoman horse archers.

In a remarkable turnaround, it is the Aleppans that are dispirited, making it very difficult for them to take any decisively offensive action.
Baldwin has managed to rally behind his spears and charges the ghilman. The ghilman are badly mauled but don’t break. The Aleppan army does, however, leaving Baldwin to extricate himself from the field and wonder whether Ridwan’s money was worth the trouble.

This was a good game, it took a little while to get the hang of the unfamiliar Frankish troop types and I may have made a few rules mistakes early on. I’m not sure how useful it is to make observations about the ‘Shattered Lances’ rules given how hard it is to get hold of a copy now, but the rules seem to handle the Franks well. [ETA: the rules are now available for download here] You can keep your spears close to your knights to have something to fall back behind and recover, the spears being less vulnerable to archery, particularly if they have archer detachments. For the Turks, space management is important, and you have to walk the line between wanting the knights close enough so you can exploit any disorder, but far enough away that they can’t charge you in one turn.
The scenario presented is not that far-fetched. A mere 8 years after the taking of Jerusalem, the Crusaders had become so enmeshed in local politics that Tancred, Prince of Antioch would find himself allied with Ridwan of Aleppo against Jawuli of Mosul, who in turn was allied with Baldwin, Count of Edessa. The two armies, with Franks and Turks on each side met at Tell Bashir in 1108.

nice report – enjoyed the batrep
LikeLiked by 1 person
I did too. I had that set of rules, what seems like ages ago. I must have sold it at a flea market though.
Now I use To the Strongest with my 18mm Blue Moon Crusades collection. Gives some very close games.
LikeLiked by 1 person
Fantastic report and a super looking table and miniatures !
LikeLiked by 1 person
Thanks
LikeLiked by 1 person
An interesting write up of a close game between two historic foes. I definitely liked the application of missile tactics, and Baldwin’s use of his spearmen.
LikeLiked by 1 person
A good writeup of a fascinating and gripping game, between two (sort of) historic foes. It was good to see the use of historic tactics- the missile tactics to break up or goad the Franks, the Franks (eventual) successful use of their infantry as a rallying point etc.
And also good to see my rules being used 🙂
LikeLiked by 1 person
Thanks. I do like the way the rules present you with tactical choices depending on the troops, but without getting bogged down in micro-managing them. And thanks again for making them available.
I did another battle with all Franks against Seljuks, but I appear to have only written it up for Twitter… I might transfer it here.
LikeLike