
The new iteration of Peter Pig’s Wars of the Roses rules, ‘Bloody Barons’ is now available. It is, however, completely different to the previous version. It is an entirely new game with virtually nothing in common with its predecessor.
For a start, the game is played on a 4×4 grid, similar to Phil Sabin’s Lost Battles (which uses a 5×4 grid), so right from the off it’s clear this is not a game for micro manoeuvring. Grid squares are nominally 12″ x 9″ making a 4′ x 3′ table, units are composed of 4 bases (or 8 if you want more figures for aesthetic purposes) and each grid square can hold a maximum of 3 units.

The majority of units are assumed to be a mix of melee troops and bows, and these are divided into 3 troop quality categories. There are no differences in bill/bow ratios, armour is keyed to troop quality in the saving throw they get. Units are all the same size. So again, this is very much a ‘zoomed-out’ view of the battle.
The game has the usual extensive Peter Pig pre-battle sequence to generate a scenario. This gives a lot more interest to pick-up games, and some of the events could be used as pointers to scenario design. Personally, I find the combination of events can often be a bit implausible, but if you’re going to play a pick-up game then it adds some interest.
Shooting range is 2 zones straight ahead or into any orthogonal zone. At close range, you can elect to shoot intensively at greater effect but at the risk of running low on arrows. So there are basically 3 levels of shooting: Intense, ordinary and low on arrows. It is possible to resupply arrows. One of the difficulties with WOTR games is that games often degenerate into long-range shooting duels where no-one wants to waste a turn moving closer to the enemy and falling behind in the shooting duel. Every set of rules that we’ve played for WOTR that didn’t have ammunition rules had to have some added before we’d play them again. BB’s solution is that you can move after you shoot. Having enemy in an adjacent zone is one of the negative morale modifiers, so if you have delivered effective long range shooting, then there’s an incentive to move up to pressurise the enemy.
Movement is one zone straight forward, or you can attempt to move sideways or backwards on a die roll. There are no facing changes in a zone. Units can fight to their side or rear, but effectively their front is always towards the enemy baseline. Movement is by zone. There is the ability to transfer units between zones, but once this is done, the units in the zone are ‘locked in’ and all must move together.
Assaults are into adjacent zones, and are usually fairly decisive. The winner gets a morale boost and the loser is likely to have a tricky morale test afterwards.
The game has a time limit, where at the end of each person’s turn a D6 is thrown and when the cumulative total reaches 32, the game is over. So a game will likely last around 10 turns (5 each). At the end of the game, victory points are totalled and margin of victory decided.
Cavalry are worth mentioning as they are handled in an unusual way. Basically, you have a pool of dice and can use some of them to ‘call’ for cavalry. If they arrive, they will charge in a straight line from your baseline and attack an enemy unit. Win or lose, they will then recall.
In addition to the pickup games, all the major battles of the Wars of the Roses are included as scenarios (and some minor ones, like Ferrybridge and a ‘what if’ of Ludford Bridge).
I tried two games, one pick-up and one scenario for the Battle of Hedgeley Moor.
With the pick up game, I struggled a bit with troops being pushed off the table. Basically, these troops go into the same pool as reinforcements, so may turn up again immediately after leaving the table. I think it would be better to have a reserve line of zones, or possibly start the defender 2 zones in instead of 1. It may be the intent of the game is for the attacker to time the final assault with the game end so this isn’t an issue, but this felt a bit weird. However, I’m not likely to be playing one-off pick up games.
The Hedgeley Moor game was really good. Both sides exchanged archery until the Yorkist centre achieved a slight advantage and assaulted to decisive effect. The game moves very quickly, and the small number of zones makes the armies operate within much stricter limits than is normally the case, which is fine for this period in my opinion. Because it’s traditional for any gamer presented with a period specific set of rules to immediately ask if it can be used for something else, I would say there’s probably the basis for a Dark Age ‘shieldwall’ game here too.
So is it any good? Well, I really like it so far. But I can imagine that many wargamers, particularly traditionalists, will absolutely hate it. For me, it’s an ideal set to play while amassing bigger armies to play A Coat of Steel. BB is such a quick and different game that, for me, it will happily sit alongside ACOS as an alternative depending on permitted time and inclination. (EDIT: Having played a few more games, I’m going to actually abandon ACOS. I’ll cross over the scenario generation and noble retinue stats into BB, but I’m going to use this BB for all battles. As ACOS has been in my top 5 rules sets ever since I discovered them, this is a pretty big recommendation for the new BB. Your views may differ of course).
Hedgeley Moor: (Bit of an exchange of Nevilles here, William Neville standing in for George Neville, and Richard Neville standing in for John Neville, lord Montagu)

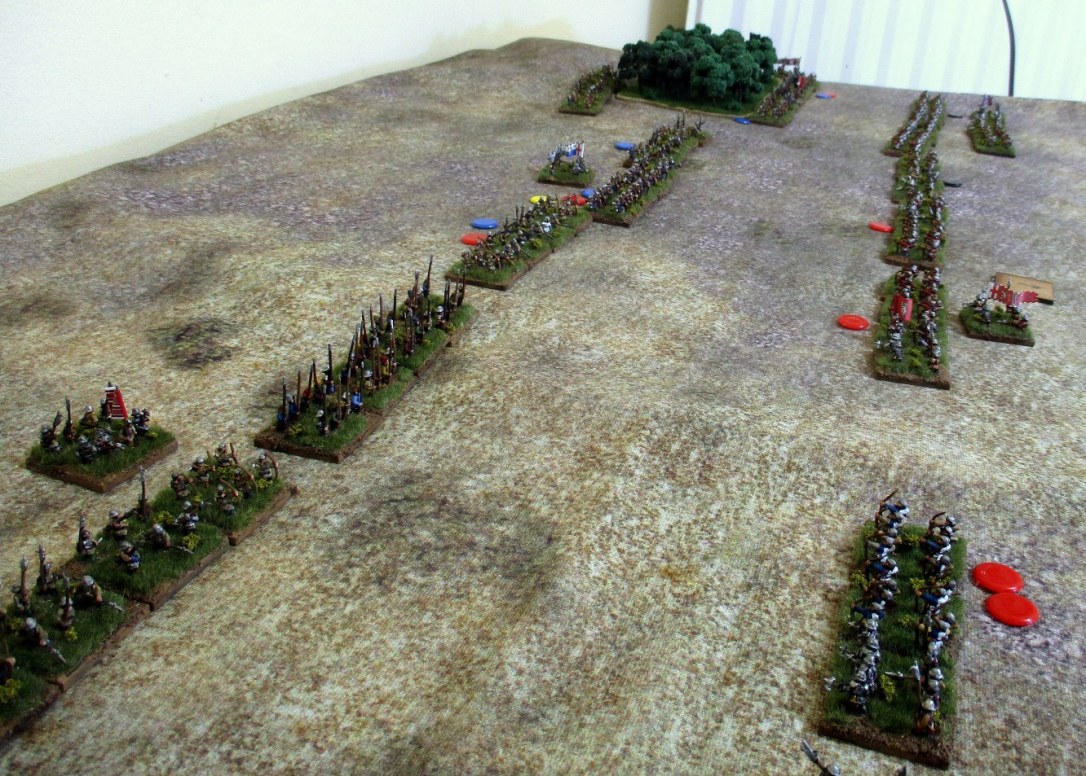
The Yorkists advance both wings. This is played on a 4′ x 2′ table, so the zones are 12″ x 6″, fine for 6mm:

Scrope begins shooting the Northumbrians as they emerge from the woods: The Lancastrian line stays solid, Somerset refuses to take the bait and advance on the Yorkist withdrawn centre:
The archery duel. Scrope is handily winning against Percy and Montagu has the edge against Somerset, but Neville makes little headway against Roos. The slight advantage is enough for Montagu to seize the moment and attack. John Neville, Lord Montagu, wasn’t particularly known for keeping a cool head after all:
Fortune favours the bold as the Lancastrian centre is routed. Both wings will soon follow. Victory to the Yorkists:

Thank you – useful as I am about to read these rules.
LikeLike